Showing posts with label adhesive magnet. Show all posts

Wednesday, September 17, 2014

DIY Magnetic Eyeshadow Palette (Similar to MAC & Z palette)


Do you ever just want a travel-sized palette but don't feel like shelling out the big bucks for the tiny little ones from Z palette or MAC? To my knowledge the MAC palette is around $8 and can only fit a couple of shadows, and the smallest Z palette is still a whopping $14. I'd rather make one for free from stuff laying around my house. Makeup is all about creativity so why can't we be innovative with the way we store our pretties?

Let me show you what I did...

Tosowoong Makeon Waterproof Little Mermaid Gel Eyeliner Set (Season 2)

I had ordered this beautiful Korean gel eyeliner set Tosowoong MAKEON Waterproof Little Mermaid Gel Eyeliner Set (Season 2) and I had a beautiful leftover tin once I pulled out the little plastic insert where the pencils were held snug. It was just sitting around and I didn't have the heart to throw it out because it was just so adorable, so I had to re-purpose it into a miniature eyeshadow palette (ideal for travel).

I won't lie, I thought this would be a lot more difficult, and I looked into getting adhesive magnets to lay down as the foundation for my eyeshadow pans to magnetize to. But duh!!! Magnets just stick to tins! Halleleujah you don't have to do anything at all! You just put your round adhesive magnets onto your eyeshadow pans and they stick right to the tin. Such genius, much amaze, WoW. 

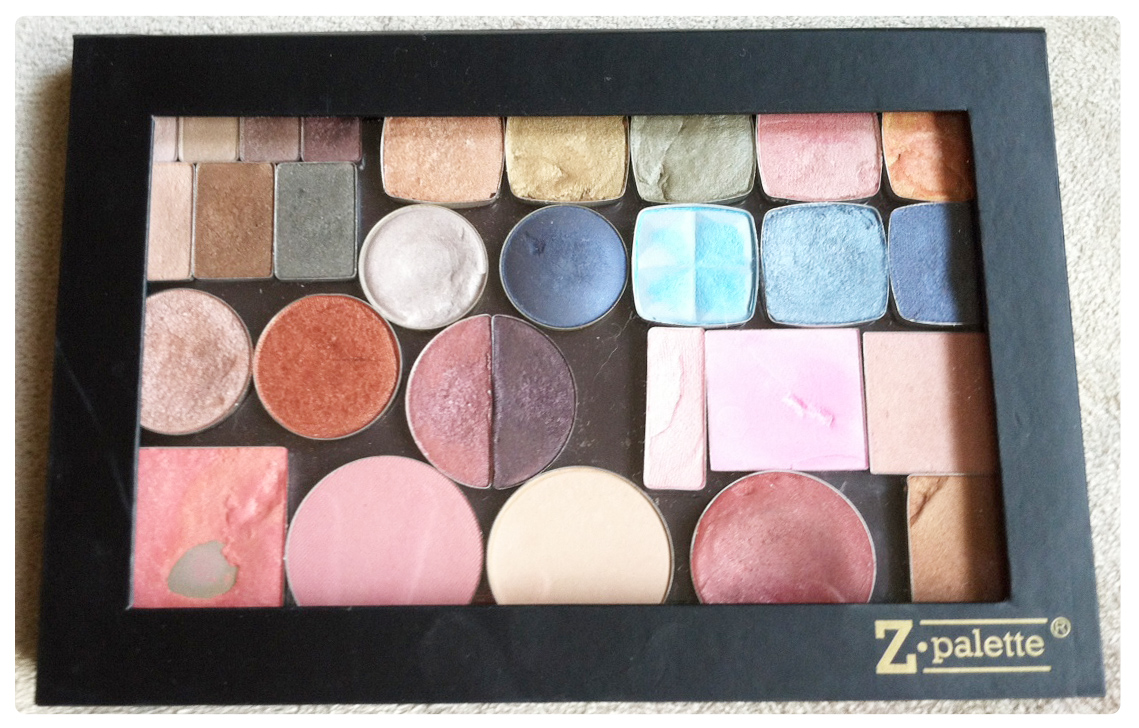
If you don't know how to achieve single eyeshadow pans, please refer to my depotting guide: Depotting Your Single Eyeshadows. You can take your eyeshadows out of their respective containers and thus allowing you to customize the way they are stored. I have depotted everything from MAC single eyeshadows to NYX single eyeshadows, to everything you see in my palette below and tons more. It's such an ideal way to save space... you don't realize how much space packaging takes up until you depot.


None of the shadows move at all, I actually think the magnet sticks more to the tin than it ever did to my Z palettes seeing as things are always floating around in my Z palette. This palette is so useful for travel since it closes securely and I have managed to put a good variety of shades in there for dozens of different eyeshadow looks.

The contents of my Mini Eyeshadow Palette:
Physicians Formula Shimmer Strips - Fashionista (pink and purple tones with pop of neon green)
Physicians Formula Shimmer Strips - Eye Candy, Enhance Blue Eyes (blue tones with pop of red)

Nars Eyeshadow Duo - Sugarland (sparkly apricot and pink)
Urban Decay Stardust Eyeshadow - Retrograde (deep purple w/ glitter)
ELF Eyeshadow Single - Saddle
4 small Estee Lauder travel singles (names/set unknown - depotted these forever ago)
Wet N Wild Single Eyeshadow - Brulee
Wet N Wild Single Eyeshadow - Nutty
NP set - Dublin (moss, emerald green, forest green eyeshadows)
Elizabeth Mott - Pop Goes the Shadow (champagne)


Tuesday, November 15, 2011

Z Palette: to buy or not to buy?

I wrote last week that I had ordered my very first Z palette to house all of my old depotted eyeshadows from various brands that don't fit into a regular-sized palette (which usually holds 16mm eyeshadows). So I decided to embark on this little journey to make my own customized palette of random blushes and eyeshadows that I had laying around. When you are finished, your collection will look like this (but less beat-up than mine because some of my products are really used up and abused):


What you'll need for this project:
  • depotted eyeshadows/blushes (if you don't know how to do this, check back to my depotting entry where I tell you how to)
  • labels
  • adhesive magnets (from an art store or department store)
  • scissors
  • Z palette or any magnetic palette that's empty and fits any size pans
  • rubbing alcohol
  • scrubbing sponge


Firstly, you will want to dab a scrubbing sponge into rubbing alcohol and make sure you take the excess glue off of the back of your depotted eyeshadow pan. This will make the whole process a lot less messy and keep your palette looking clean. Take your depotted eyeshadows/blushes and cut a label to write the name of the product, the company that made it and the color for your reference. Unstick the adhesive peel from the magnet and place it on the back of your eyeshadow so that you have reference if you run out of a certain color you love and need to go back and get some more. If you really don't care what the color or product is then just skip this step.
Tools you will need

Then you can cut out a magnet that measures the size of your pan, so place the pan on top of the adhesive magnet and stick it on. Cut around the pan with your scissors or an exacto knife so that you have a perfectly sized magnet. This magnet goes on top of the label to make sure your eyeshadow is securely in the pan. Some pans are magnetized and do not need to have magnets placed on their backs. It is easy to remove the magnetic adhesive strip by hand so if you need name-reference, you can simply do that and re-apply it. If you choose to put your label on the outermost side and sandwich the magnet between the label and the pan, you may not have as good of a grip and your shadows may move.

You can make a separate little paper sheet insert that you can stick to the window of the palette that acts as a guide to your colors. I chose not to do this because I don't use these colors extremely often and will certainly not re-purchase these brands when I can get my hands on MAC and Urban Decay shadows. I have NYX, L'Oreal, Maybelline, Estee Lauder, Lancome, Trish McEvoy, and Clinique products in my Z palette. Most of my stuff is from random gifts with purchases and drug-store buys when I was first starting out with makeup.

My first Z palette!
The last step is simply organizing your pans and popping them in the Z palette however you'd like! I like the concept of the Z palette because you can see everything you have inside, but the problem is that I thought they would be bigger. It turns out the Z palette PRO ($28) and the Z palette regular ($20) palettes only differ by half an inch in width and a very minuscule amount in depth. The depth is important to me so I opted for the PRO palette because I'm putting blushes and mineralized shadows in my next one. But if you're only going to put small eyeshadows, I suggest going for the regular one, as it is $8 cheaper. You can purchase them on Amazon, which is what I did and they arrive in approximately 3 business days. I like the fact that I can now stack all of my eyeshadows and blushes with my other palettes rather than investing in tons of those little Rubbermaid drawers to put them in. When you put things away like this, you risk not seeing all your products for long periods of time and purchasing items even though you already have some at home (but you don't remember because you haven't seen them in awhile). I don't like rifling through my single eyeshadows for a particular color I'm looking for, so this is going to make my morning makeup routine a lot simpler. I suggest buying these if you're a big fan of makeup and have an enormous collection like I do. I'm thrilled with the way I can see all of my colors so I know what to reach for! I give them a 9/10, only because I want more and I think they can be even bigger to fit larger products!

Related Posts Plugin for WordPress, Blogger...